How to update the Creality Sermoon D1 Firmware

This step-by-step tutorial guides you on how to update the Creality Sermoon D1 Firmware to the latest version.

Updated on Jan 08, 2025
  /   Author:  
Rafael Escalante
creality
sermoon
d1
3d
printing
printer
firmware
technical
support
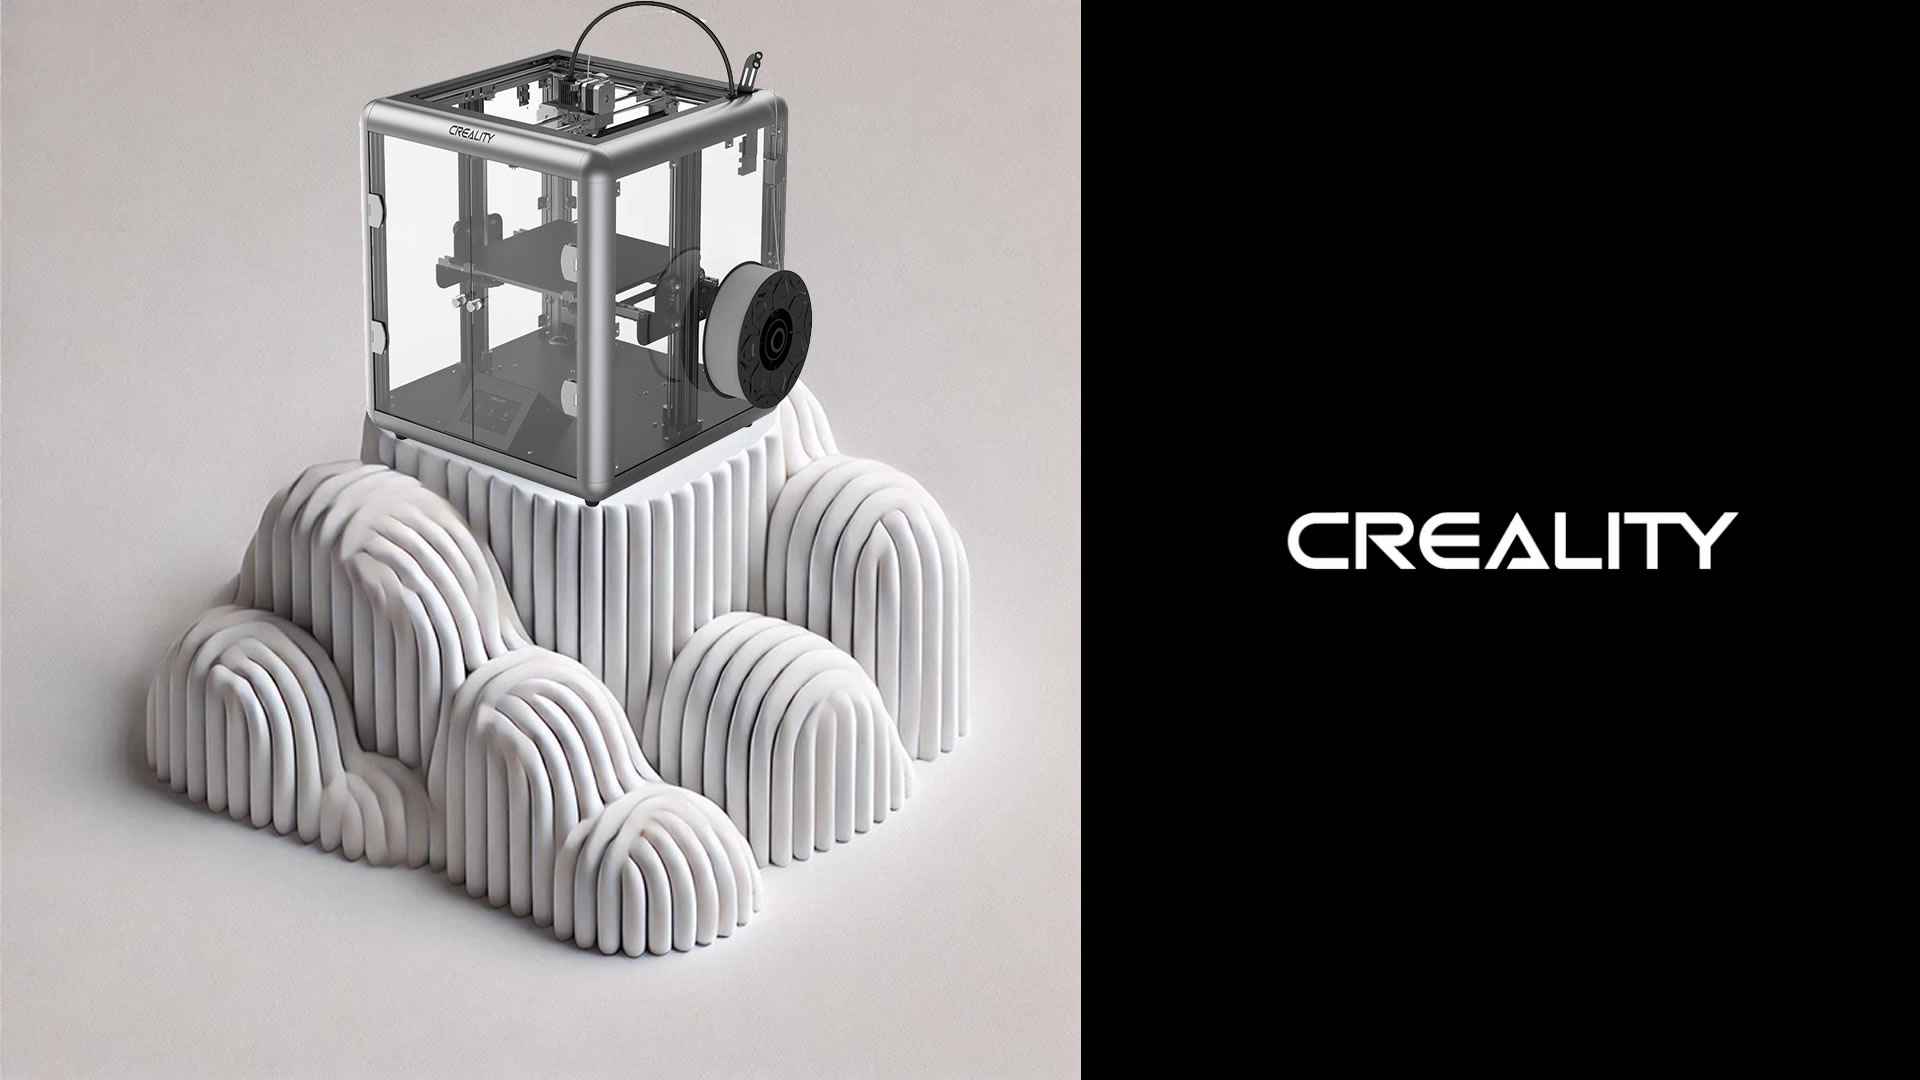
This step-by-step tutorial guides you on how to update the Creality Sermoon D1 Firmware to the latest version.

In this guide, you will learn how to update the Creality Sermoon D1 Firmware to version 1.1.18 the latest one published in the Creality website. The same process applies also for the Firmware containing the BL Touch upgrade.

I've listened in many forums that it's not clear how to perform the update and saw people complaining about the screen getting stuck in the Creality logo, or some others that are facing a problem when they update the Firmware and they power-on the 3D printer, they see a pinpad.

Pre-Requisites to update the Creality Sermoon D1 Firmware.

  1. Your Sermoon D1 connected disconnected from power and with the power cable unplugged.
  2. The Hex Keys (Allen Wrenchs) that came with the 3D Printer.
  3. Micro SD Card with at least 8 GB.
  4. Micro SD Adapter to SD.
  5. A device with Windows 11 and SD Card input.

Creality Sermoon D1 Firmwares.

  1. The latest Firmware available in Creality website V1.1.18
  2. The factory Firmware in case that you mess it up V1.1.0

Source: Creality Sermoon D1 Downloads

Step 1 - Open the Sermoon D1 bottom cover.

Using the hex keys, open the bottom cover of your 3D printer until you have access to the screen, if you are looking for a reference video, Creality published one on it's YouTube channel.

How to open the Sermoon D1


Step 2 - Update the Sermoon D1 Screen Firmware.

Now that you have access to the screen, connect the SD card to your computer and format the SD Card in FAT32 format with an allocation of 4096 bytes. If your SD card is bigger than 8GB, I recommend using the Windows Disk Manager to generate a partition of 8 GB (8192 MB) and then format the SD card.

Formatting SD Card using FAT32 Filesystem

Download the latest Sermoon D1 Firmware version V1.1.18 and extract the .zip file.

Extracting Sermoon D1 Firmware Files

Copy the folder DWIN_SET to the recently formatted SD card.

Copying the Sermoon D1 Firmware Files

Unplug the SD card from your computer and connect it to the Sermoon D1 Screen, connect the power cable of the 3D printer and power it on.

Wait for the Firmware update to complete, you will see SD Card process. END! and at the end of the Firmware code you will see Output .DAT Files:000 this code means the FW has been updated properly.

Power off the 3D Printer again and remove the SD Card from the Sermoon D1 screen. At this point if you power on the printer, you will see a Creality logo stuck with the loading bar at 100%.

Step 2 - Update the Sermoon D1 Marlin Board Firmware.

Connect back your SD card to your computer and delete the DWIN_SET folder, then copy the file firmware_V1.1.18.bin to it.

https://storage.googleapis.com/rescalante.com/static/media/copying-marlin-sermoon-d1-firmware-files.3BIg9LnuVrQF.png

Unplug the SD card from your computer and connect it to the Sermoon D1 main board (probably you will require and SD card adapter), power on the 3D printer and wait for the Firmware update to be applied.

Power off the 3D Printer again and remove the SD Card from the Sermoon D1 main board. At this point if you power on the printer, you will see a weird pin pad (I don't kno why).

Power on the 3D printer again and check that you are running with the latest FW version.

Step 3 - Reassemble your 3D printer and have fun!

Now it's time to reassemble the 3D printer and enjoy. This Firmware has some minor adjustments, I found that works better with Octoprint

Conclusion.

Even if Creality has user guides and videos on how to perform the Firmware update, I hope this tutorial makes the process easier for you. The Sermoon D1 was my first 3D printer so and I learned a few tricks. I saw so many people complaining about the FW update and thats why I decided to create a kind of tutorial with a few steps.

Profile Pic

Author:   Rafael Escalante